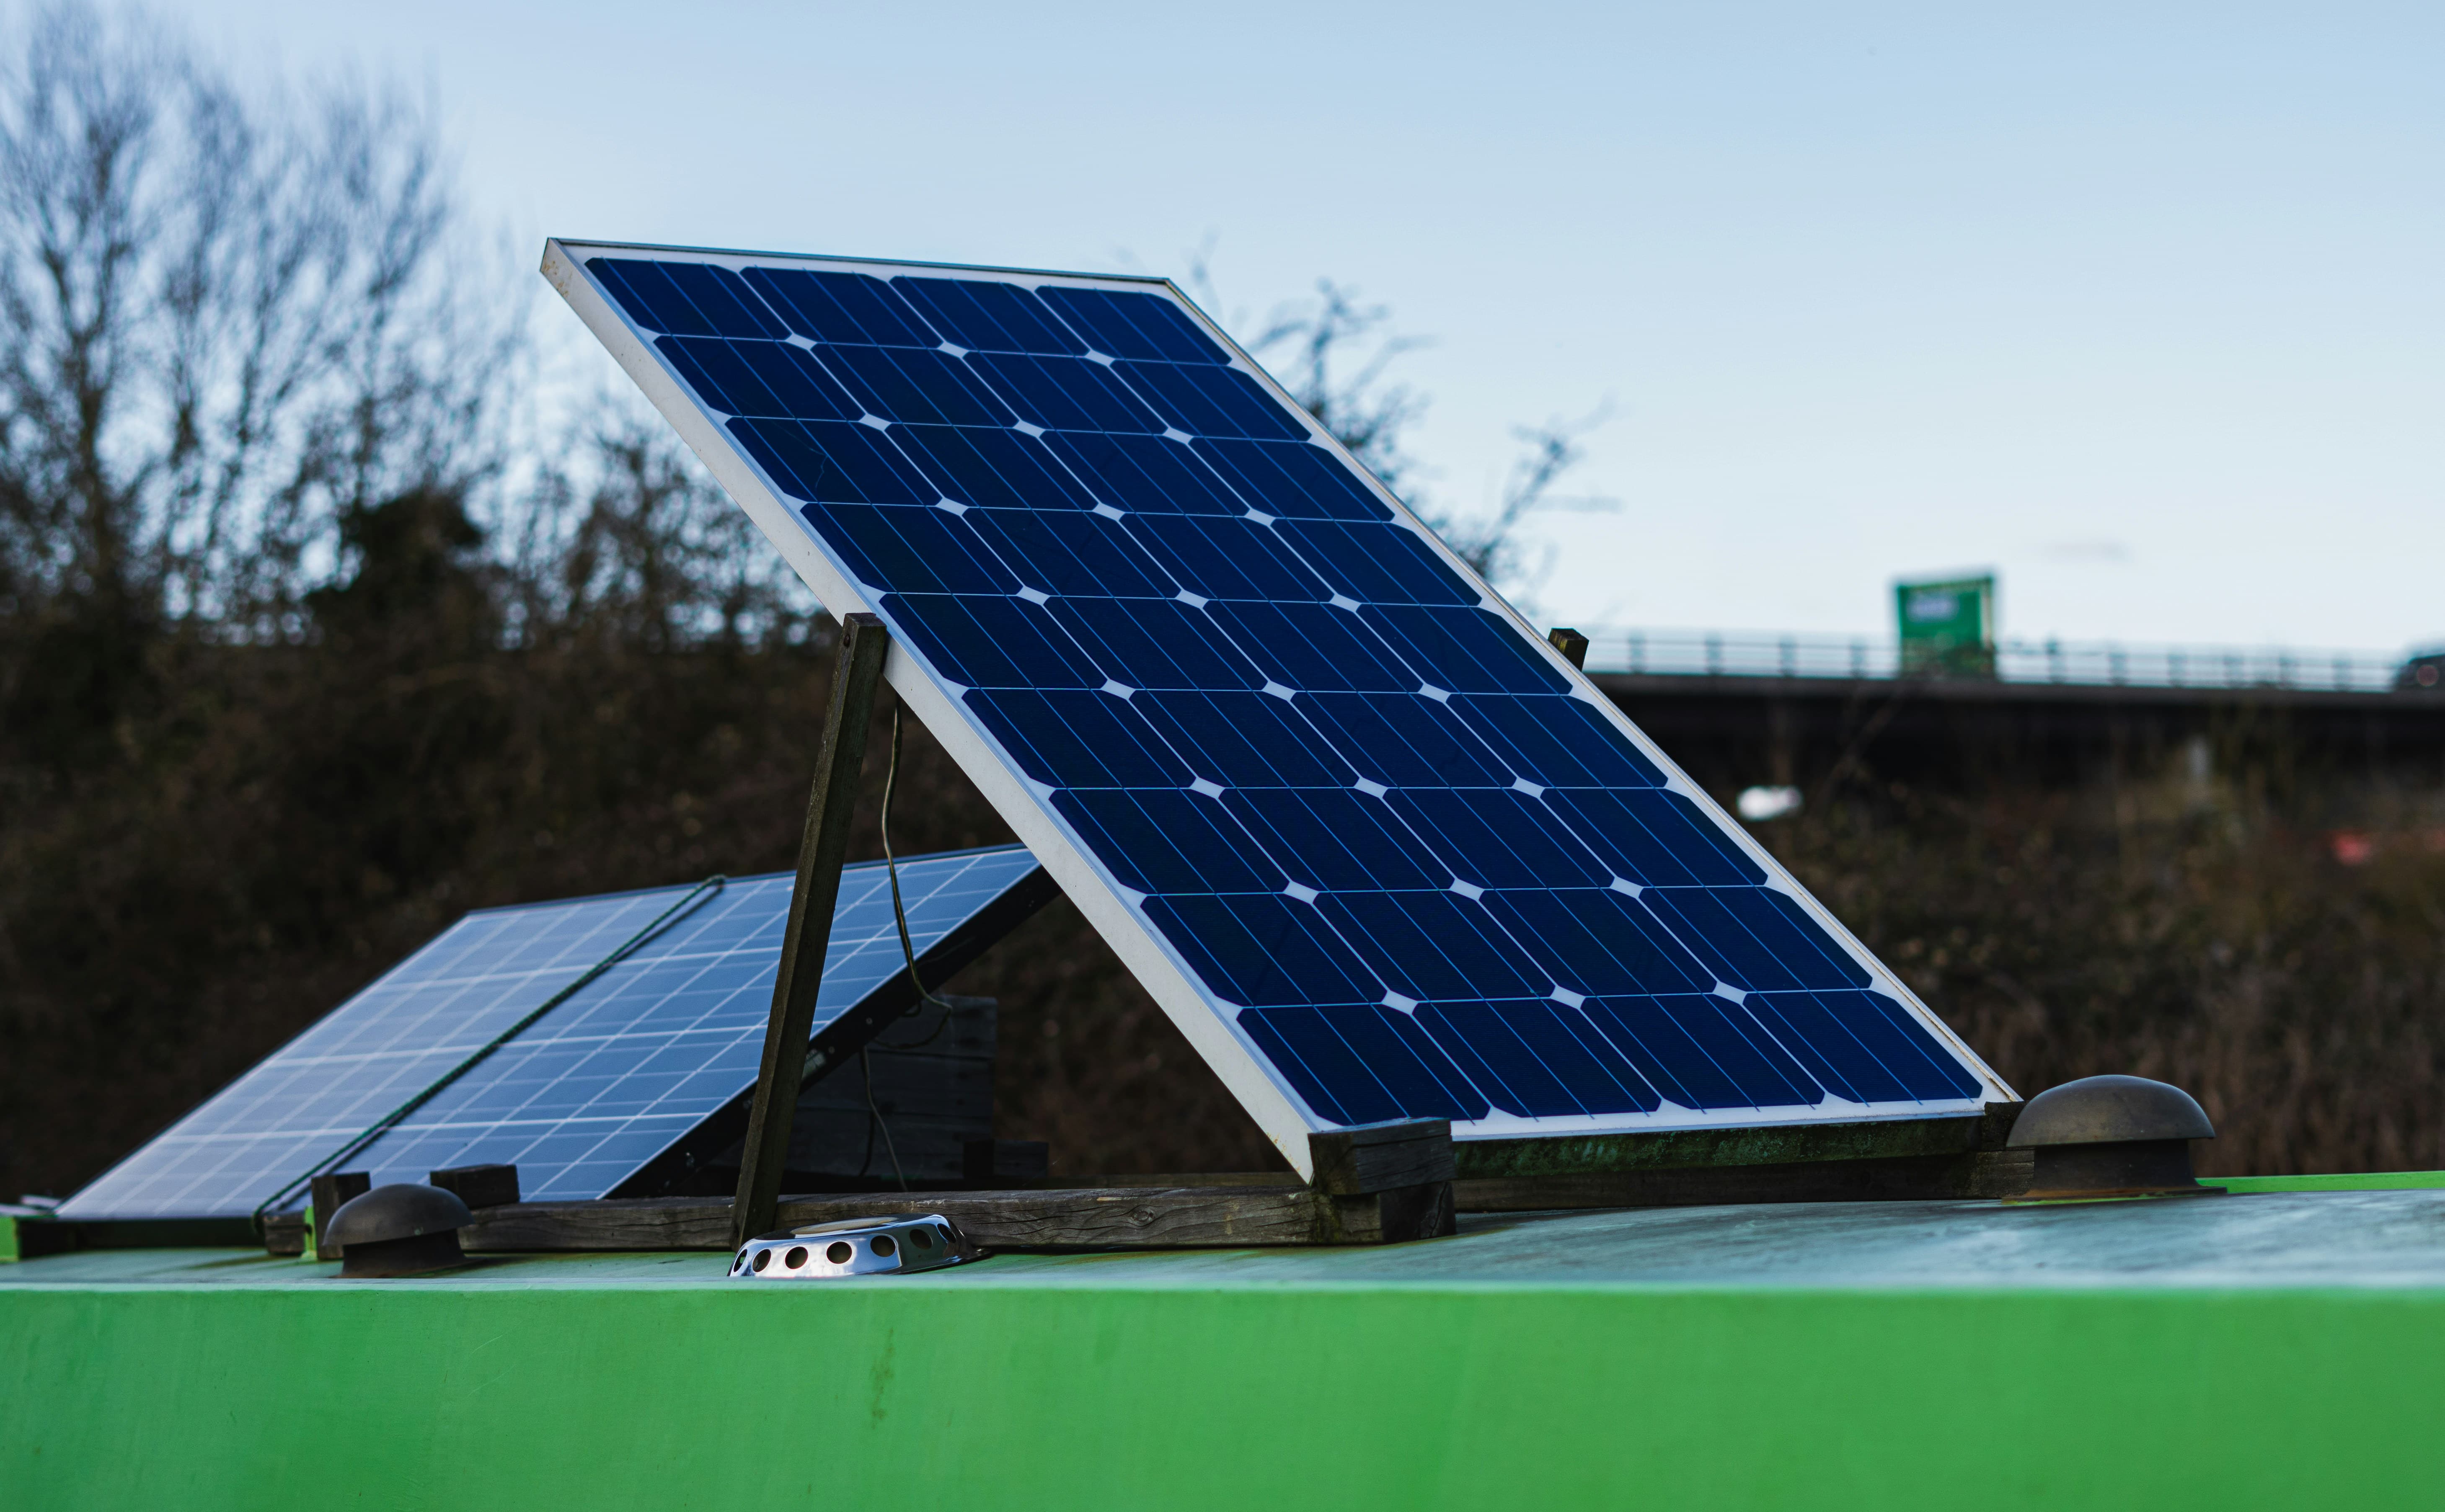
As the global demand for renewable energy continues to rise, monocrystalline solar panels have become the top choice for both residential and commercial solar systems. Their high conversion efficiency, excellent durability, and low degradation rate make them a preferred option for users seeking reliable long-term energy solutions.
However, many users underestimate one crucial step after purchasing solar panels — the installation process. Proper installation not only maximizes power generation efficiency but also extends the lifespan of the entire system.
This guide provides a detailed explanation of each step in installing monocrystalline solar panels, from planning and site selection to mounting, wiring, and maintenance.
1. Pre-installation Planning: The Foundation of Efficiency
Before beginning installation, proper planning is essential to ensure safe operation and optimal performance.
1.1 Determine System Requirements
Start by assessing your daily and monthly electricity consumption. A residential system typically produces around 4–5 kWh per kilowatt installed per day, depending on location and sunlight exposure.
For commercial systems, more precise energy modeling is required based on load demand, peak usage times, and available installation area.
1.2 Evaluate Installation Site Conditions
The ideal site for installing monocrystalline solar panels should meet several key criteria:
-
Unobstructed sunlight: Avoid shade from trees, buildings, or chimneys, which can create hot spots and reduce power output.
-
Strong mounting surface: The roof or ground base must support the panel weight and withstand wind loads.
-
Adequate ventilation: Proper airflow underneath panels prevents overheating, which can reduce performance.
1.3 Prepare Tools and Components
Verify that all components — including panels, inverters, cables, junction boxes, and mounting racks — are in good condition. Common tools include:
-
Wrenches, drills, screwdrivers
-
Multimeter for voltage/current testing
-
Safety equipment such as gloves, ropes, and helmets
-
Waterproof tape and cable clips
Good preparation ensures a smooth and efficient installation process.

2. Orientation and Tilt Angle: Maximizing Solar Exposure
The orientation and tilt angle of your panels directly determine how much sunlight they capture throughout the day.
2.1 Optimal Orientation
In the Northern Hemisphere, panels should face true south to capture maximum sunlight. A slight deviation (within 10–15°) is acceptable if necessary to avoid shading or accommodate roof design.
2.2 Proper Tilt Angle
The ideal tilt angle depends on your geographical latitude:
-
Northern China or northern U.S. (around 35° latitude): tilt 30–35°
-
Southern China or southern U.S. (around 25° latitude): tilt 20–25°
-
Higher latitudes (around 45°): tilt 40–45°
Correct tilt ensures maximum annual energy yield and helps natural cleaning from rainwater runoff.
2.3 Avoid Shading and Current Imbalance
When multiple panels are connected in series, shading on even one panel can significantly reduce the overall current.
To minimize this issue:
-
Keep panels evenly exposed to sunlight.
-
Use bypass diodes to reduce power loss from partial shading.
-
Arrange strings logically based on roof geometry.
3. Mounting System Installation: Stability and Safety First
The mounting structure supports the entire solar array. It must be durable, corrosion-resistant, and capable of withstanding extreme weather conditions.
3.1 Choose the Right Mounting Type
Depending on the installation surface, you can select:
-
Roof-mounted systems: Suitable for metal roofs, tile roofs, or flat roofs.
-
Ground-mounted systems: Common for large-scale solar farms or residential gardens.
-
Wall-mounted or BIPV systems: Ideal for integrating panels into building façades.
-
Carport mounting systems: Combine shading and power generation.
Most modern mounts are made of aluminum alloy or galvanized steel, ensuring long-term durability.
3.2 Key Installation Steps
-
Securely fasten the mounting base or rails to the structure.
-
Check alignment and ensure rails are level (tolerance ≤5mm).
-
Tighten bolts and nuts according to manufacturer torque specifications.
-
For windy or coastal regions, use reinforced brackets or wind braces.
A stable structure ensures system safety and reduces maintenance requirements.
4. Electrical Connections: Safety and Efficiency Combined
Electrical wiring is the most technical part of solar installation. Incorrect wiring may cause power loss, inverter failure, or even fire hazards.
4.1 Series and Parallel Connections
-
Series connection: Increases total system voltage while keeping current constant.
-
Parallel connection: Increases current while keeping voltage constant.
Always ensure the total voltage and current remain within the inverter’s rated range.
4.2 Use of MC4 Connectors
Monocrystalline panels typically come with MC4 waterproof connectors. Before connecting:
-
Confirm polarity (positive to positive, negative to negative).
-
Ensure connectors are fully locked to prevent arcing or loose contact.
4.3 Cable Management
-
Use solar-rated cables that can withstand UV exposure and high temperatures.
-
Avoid tight bends and ensure cables are neatly secured.
-
Apply waterproof seals at junction points.
-
Properly ground all metallic parts to enhance lightning protection and safety.
5. Inverter Installation and Grid Connection
Monocrystalline panels generate direct current (DC), which must be converted to alternating current (AC) using a solar inverter.
5.1 Inverter Placement
Install the inverter in a cool, dry, and well-ventilated location. Avoid direct sunlight and moisture. Maintain at least 30 cm clearance behind the inverter for heat dissipation.
5.2 Connection and Configuration
-
Connect the DC cables from the panels to the inverter’s input terminals.
-
Connect the AC output from the inverter to your household distribution board or grid interface.
-
Configure monitoring software or Wi-Fi module to track performance data.
5.3 System Testing and Commissioning
Before powering on:
-
Use a multimeter to check voltage and polarity.
-
Verify the inverter’s display for correct input readings.
-
Ensure circuit breakers and fuses are functioning properly.
-
After switching on, observe for a few minutes to confirm stable operation.
Once the inverter shows “Grid Connected” or “Normal Operation,” your solar system is officially generating clean electricity.
6. Post-Installation Maintenance and Troubleshooting
A properly installed monocrystalline solar system requires minimal maintenance, but periodic checks are vital for long-term reliability.
6.1 Cleaning the Panels
Dust, bird droppings, and debris can reduce energy yield by up to 10–20%. Clean panels every 2–3 months using:
-
Soft sponges or microfiber cloths
-
Clean water (avoid harsh chemicals)
-
Gentle wiping in the morning or evening when panels are cool
6.2 Routine Inspections
At least twice a year:
-
Check mounting bolts for looseness.
-
Inspect cables for aging, cracking, or corrosion.
-
Ensure junction boxes are sealed properly.
-
Examine the inverter for warning messages or unusual noise.
6.3 Performance Monitoring
Use the inverter’s built-in monitoring app or a cloud platform to track power generation trends.
If output drops unexpectedly, check for:
-
Temporary shading
-
Faulty connectors
-
Damaged panels
-
Inverter errors
Prompt troubleshooting prevents small issues from becoming major problems.
7. Professional Installation vs. DIY
While some experienced homeowners may choose a DIY approach, professional installation is strongly recommended for most users. Certified installers ensure:
-
Proper electrical safety compliance
-
Optimal system design for maximum efficiency
-
Warranty protection for panels and inverters
Professional installation also minimizes risks related to roof damage, electrical hazards, or system underperformance.
8. Conclusion: Unlocking the Full Potential of Monocrystalline Panels
Installing monocrystalline solar panels is more than just placing panels on a roof — it’s a precise engineering process that requires careful planning, correct alignment, and safe electrical integration.
From choosing the right site and mounting system to testing and maintenance, every step plays a vital role in ensuring stable and efficient power generation for the next 20+ years.
By following the proper installation guide — or better yet, working with a certified solar installation team — you can make the most of your investment and enjoy the benefits of clean, renewable energy for decades to come.
www.janewenergy.com
janewenergy


More Stories
Why A283 Carbon Steel Coil Is the Preferred Choice for Structural and Fabrication Projects
How Does an Electric Fast Charger Work? Demystifying the Technology
What Are Stacked Cores and How Do They Improve Efficiency?